INSTALLATION GUIDE for 12 and 15 Inch Standard Cover, without Adapter Kit
Tools needed for Installation include:
- Shovel
- Pick or Maddox
- 2 x 4, or other tool of choice, to pack dirt
- extra bags of dirt or sand
-
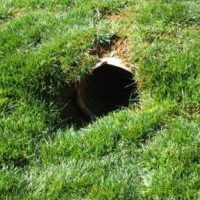
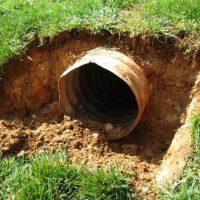
- Remove 6 to 7 inches of dirt around and below driveway culvert pipe.
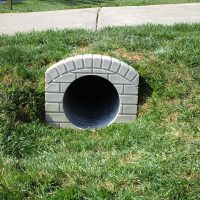
- Slide Standard Cover onto the culvert pipe.
- Check to see if Cover fits pipe. Check to make sure the ground underneath the Cover is firm enough for Cover to stand on. If there are holes in the dirt under the Cover, add more dirt until the ground is solid for cover to sit on.
- After checking initial fit, and to add more strength to your Landscape Cover, remove the Cover and lay it face down. Remove the 2-inch plug on the back of the Cover and fill with sand, dirt or gravel (sand is preferable).*
- Re-install Cover and add fill dirt around the Cover. You can now add topsoil, sod, etc. around Cover.
*To make Landscape Cover more secure, after Step 3, complete the following:
While cover is removed, drill three to six 3/16 to 5/16 diameter holes around the top and sides of the culvert pipe before re-installation of the Cover (see video).- After Cover is re-installed onto the culvert pipe, screw 3-inch long screws (not supplied) from the inside of the culvert pipe into the Landscape Cover, tightening alternating screws, and check fit.
- Do not over-tighten screws as they may pull the Cover closer to one side and it will be off-center.
ADAPTER KIT Installation Guide:
Adapter Kit includes: six rectangular blocks and six 1-5/8 screws
- Equally space blocks around inside diameter of cover
- Use Phillips head screwdriver or Phillips head cordless screwdriver. If variable speed drill is used, lower drill setting to install blocks and screws
- If galvanized pipe is damaged space blocks to avoid damaged area
- Do not over-tighten screws


